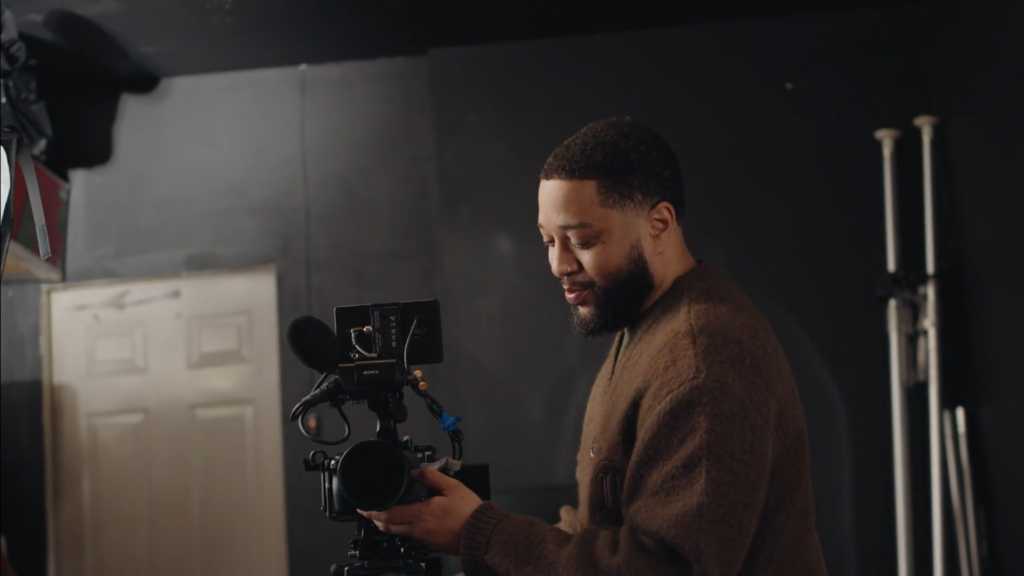
When starting out, new creators often assume they’ll need a ton of equipment and software to create quality content. But in reality, it’s more important to have a solid workflow that makes it easier to jump between ideation, filming, editing, and publishing.
If you have a smartphone with a decent camera and a few core tools, then you have all the essentials you need to get started. The question is: what are these core tools, and which ones can you go without?
Below, you’ll learn the answer to this question. You’ll discover the eight main types of content creation tools that content creators use every day and how to build a workflow that connects them all together.
In this article
- Why creating a centralized creator workflow matters more than your stack
- The 8 categories of essential content creation tools
- 1. Ideation tools for brainstorming
- 2. Organization tools to keep you consistent
- 3. Phones or cameras for recording
- 4. Video editing software you can grow with
- 5. Stock media to expand your creative options
- 6. Design and thumbnail tools for branding
- 7. Scheduling and publishing tools save you time
- 8. Performance review tools to confirm what’s working
- Start simple, then upgrade as you need to
Why creating a centralized creator workflow matters more than your stack
For most content creators, there are only eight crucial steps that you’ll need specialized software or equipment to handle:
- Generating ideas
- Scripting and planning
- Recording
- Editing
- Creating graphics and thumbnails
- Sourcing assets
- Scheduling and publishing the final content
- Reviewing performance
The main thing to focus on is how easy it is to flow from one step to the next as you’re working. The easier it is, the more you’ll avoid productivity-draining problems like repetitive tasks, burnout, and losing files halfway through a project.
Obviously, your workflow won’t be perfect from the start. But you can improve it over time as you figure out what’s working and what additional tools will help.
The 8 categories of essential content creation tools
Let’s take a closer look at the types of tools you’ll need to get started with content creation.
1. Ideation tools for brainstorming
To keep a full content schedule, you need a constant stream of new ideas. The problem is, coming up with ideas, knowing what to post and how to structure videos—these are all things that new creators often struggle with the most.
The best tool for brainstorming is ultimately your own mind and creativity, but using certain tools for researching and creating initial drafts can take a lot of the manual work out of the process.
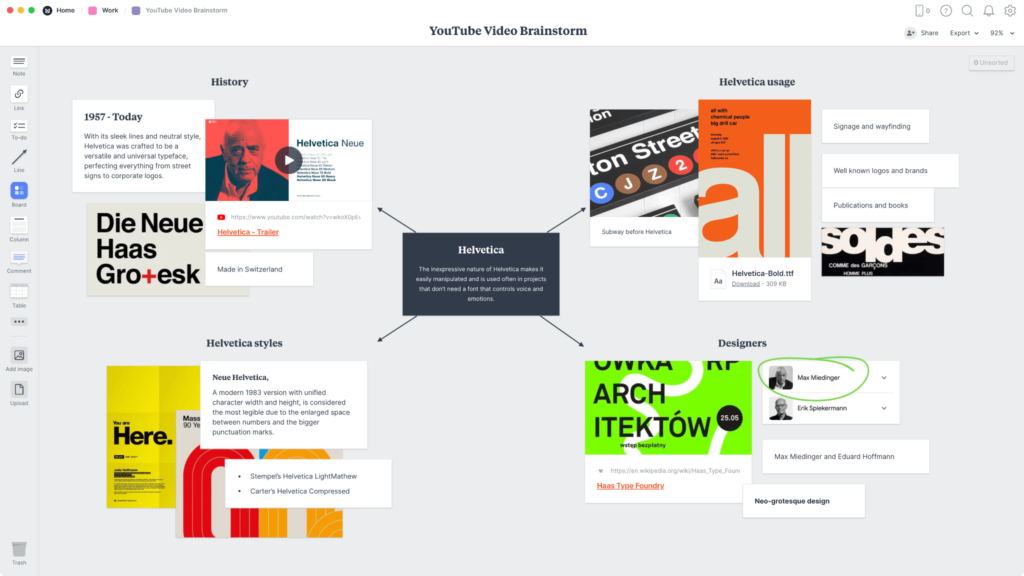
Here are a few ideas to get you started:
| Ideation tools | How it helps (and a few examples) |
| Digital whiteboards | Canvases that help you brainstorm with free-form pictures. Examples: Miro, Milanote, Whimsical |
| Note-taking apps | Lightweight and usually free, these apps help you log new ideas before working on them. Examples: Obsidian, Notion |
AI tools like ChatGPT or Claude can also be helpful. They won’t come up with anything groundbreaking, but they can help you sift through popular trends and refine your video editing style while you’re in the planning phase.
Just remember: AI should assist your creativity, not replace it. It’s easy to fall into the trap of letting ChatGPT handle all of your thinking, but it isn’t a replacement for personality and expertise. At the end of the day, it’s your creativity that will help your content stand out from the crowd.
2. Organization tools to keep you consistent
While you can write a script by hand, software helps you manage edits and track changes with less effort. And once you have your ideas and scripts, you need a place to store all of that information where it’s easy to access.
Cloud word processors are extremely useful. Something as simple as Google Docs can work if you’re already familiar with that ecosystem. It lets you create and manage documents from anywhere, while storing them all in a custom folder structure within your Google account.
Another great free option is Notion. It’s an all-in-one, multi-purpose workspace where you can map out content calendars, create tables of ideas, and embed pages within pages. It’s extremely customizable, meaning you can simplify organization for lots of different content and workflows at the same time.
The more organized you are, the easier it is to keep up with your plans and stay accountable. It’s the only way to scale up video production and make more content in a sustainable fashion.
3. Phones or cameras for recording
When you’re starting out, making videos and getting the hang of the creation process is far more important than whatever camera you’re filming on.
If you already have a relatively new phone, you probably don’t need to go out and buy a dedicated camera just yet. Focus on nailing techniques like lighting and framing first. You can upgrade to higher-quality gear when you have the budget and expertise to make the most of it.

That said, if you’re going to film on your phone, there are a few tools that can expand your filming options. Here’s an idea of the kind of equipment you’ll want to invest in:
| Tools for recording video | How they help |
| Tripods and mounts | Provides a stable base to frame shots and film shots without camera shake. Examples: Ulanzi MT series, Joby GorillaPod. |
| Gimbals | Stabilizes walking and moving shots so that your footage is steady and smooth. Examples: DJI Osmo Mobile, Insta360 Flow, Hohem iSteady. |
| External microphones | Bypasses your phone’s low-quality microphone so that you can capture clear audio. Examples: Rode Wireless series, DJI Mic Mini. |
| Lights | Gives your shots a professional look, even when you’re recording on a budget camera. Examples: Basic ring light stands, ambient background lights. |
You don’t need top-of-the-line accessories to get the job done. Start with a simple microphone and tripod setup and build from there. As you learn new techniques and want to try fancier shots and transitions, you can invest in new tools.
4. Video editing software you can grow with
Solid video editing chops are what make your content start to feel professional. A strong edit can turn pretty average footage into an attention-grabbing video. Plus, learning how to use editing software will teach you foundational skills that you’ll need later on.
However, as a beginner, you don’t need to dive headfirst into the most powerful editor. Instead, consider choosing a program that handles the basics but offers advanced tools you can learn as you get more comfortable with editing.
Mobile editing apps like CapCut or InShot can be a great starting point, especially if you’re filming and editing from your phone.
These tools work particularly well when you’re posting short-form content to platforms like TikTok, since you can handle the entire editing workflow from your smartphone. You also get time-saving tools like auto-captions, built-in templates, and quick export options to help you stick to a schedule.
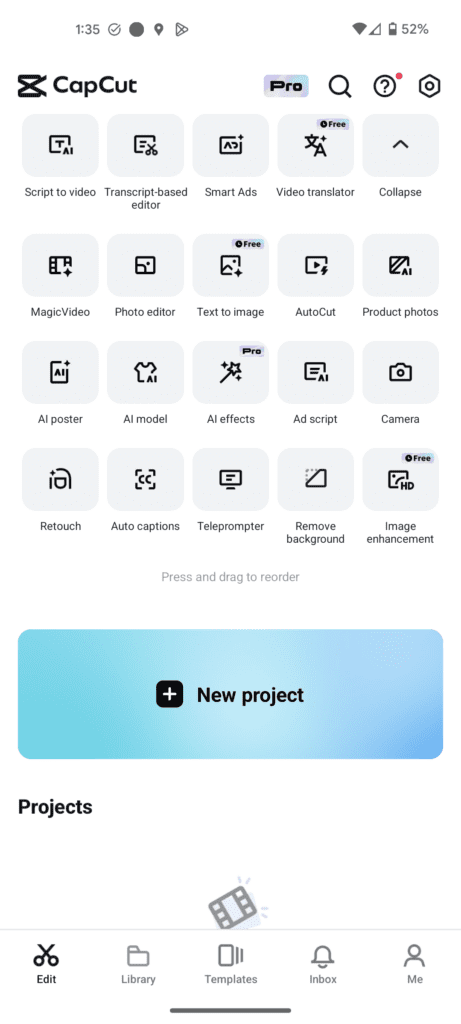
Check out our article on the best video editing platforms for beginners to learn more, or our CapCut 101 article to learn how to use the editing app.
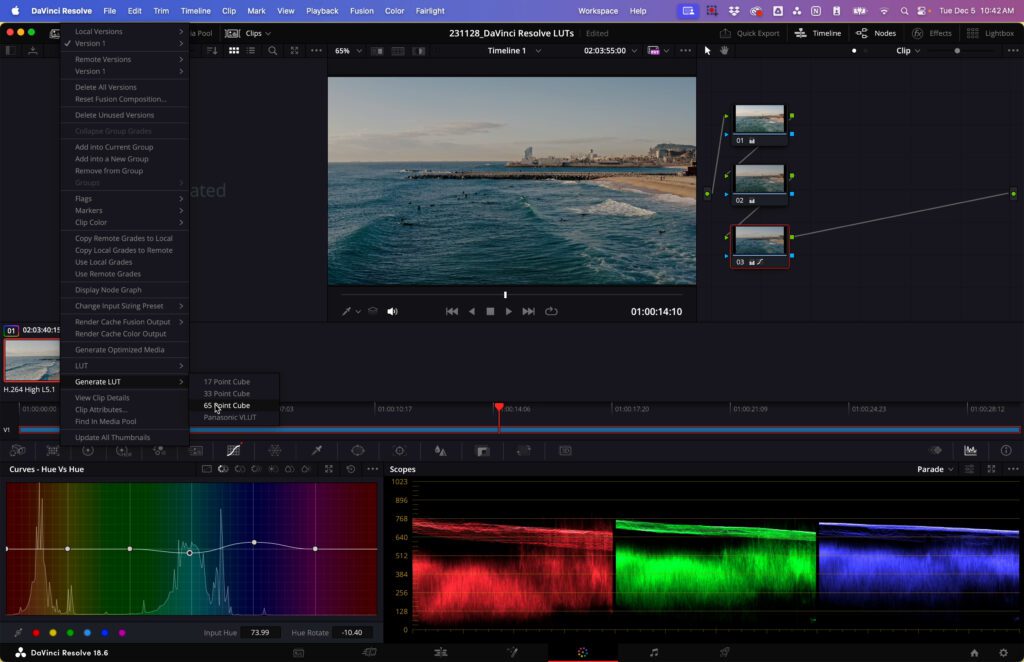
But if you’re looking for an editor you can grow with, DaVinci Resolve and Adobe Premiere Pro are the two tried-and-true options. The free version of DaVinci Resolve is a great option that covers almost everything you’ll ever need, and you can easily upgrade to Studio when you’re ready to take on a new challenge.
5. Stock media to expand your creative options
Having the right stock media opens up the creative possibilities of your content in a big way. Instead of worrying about how you’re going to film every shot, you can just swap in high-quality b-roll to reduce the amount of footage you need to film yourself.
This is where choosing a stock media subscription with unlimited downloads from a growing, 100% human-made stock library like Storyblocks comes in handy. Expertly curated by an in-house team for quality, you get the best selection of assets to choose from – plus, their library is refreshed every day.
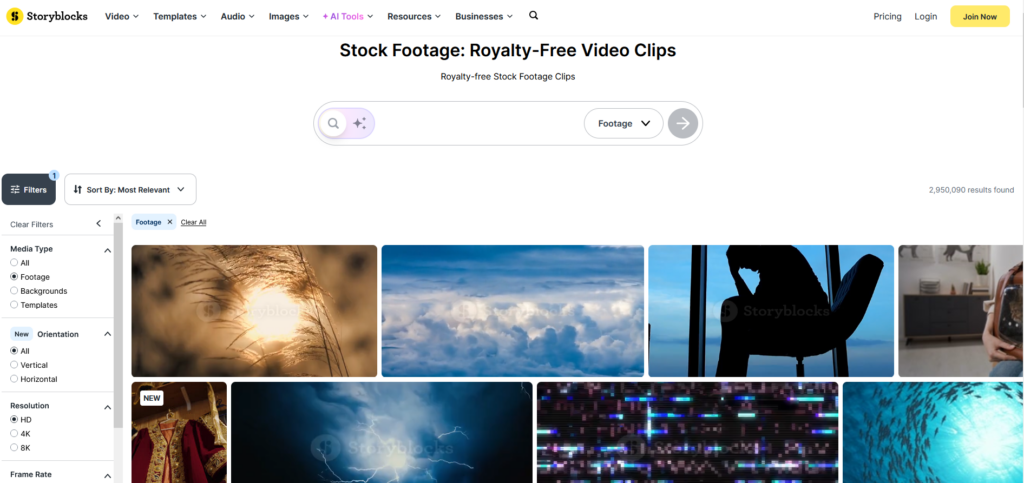
Having access to everything from top-tier video to professionally recorded sound effects and music under one subscription gives you tons of fun options. Plus, rather than sourcing things individually, you can go to one library and find everything you need. Every single asset in their library is made by a real artist, and every download directly supports their work.
On top of offering a wide selection of pre-licensed stock media, Storyblocks also includes time-saving tools to help you build an efficient workflow through the entire production process.
You can use the Adobe plugin to bring the full library right into Premiere Pro, along with an AI Toolkit that features voiceover and video editing tools. For some creators, these features completely eliminate the need for recording your own voiceovers.
6. Design and thumbnail tools for branding
When it comes to video, your thumbnail is the first thing people see, which makes it one of the biggest drivers for clicks and engagement. Unfortunately, even a great video will struggle to get views if the design fails to capture attention.
Having a dedicated design tool is crucial for building those visual hooks and keeping your brand consistent. You can set up reusable templates with your brand’s fonts, colors, and logos to speed up your workflow.
Canva is a popular option that covers all the basics, letting you build thumbnails and graphics like carousels.
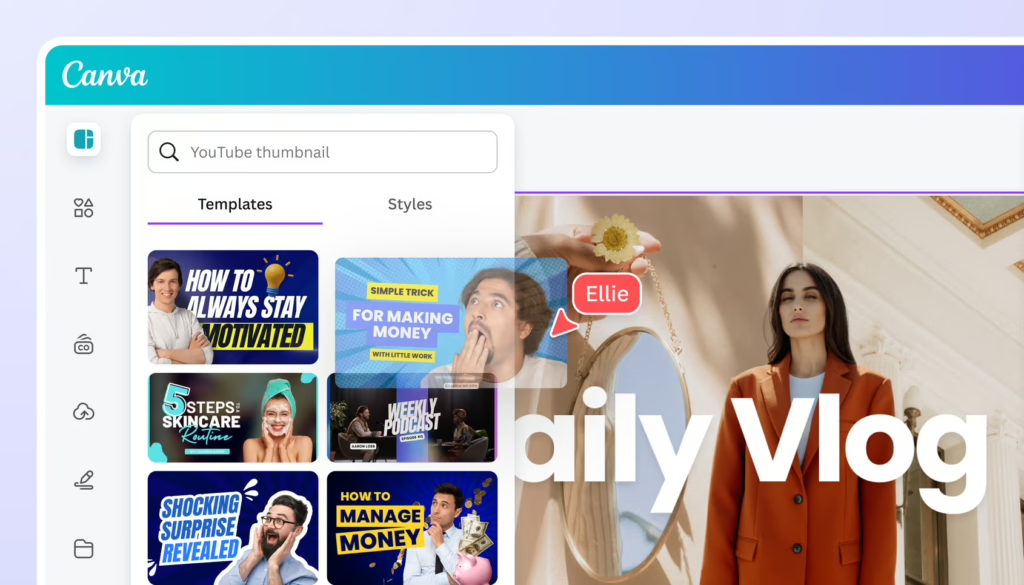
But if you already have experience with the Adobe ecosystem, stepping up to Photoshop gives you far more control over your images.
7. Scheduling and publishing tools save you time
Filming and editing videos in batches is a great way to work more efficiently. But having a backlog of content only helps if you remember to hit publish.
Content creation tools for social media solve this problem by letting you set it and forget it as soon as your video is ready. While many platforms let you schedule uploads directly, it’s much easier to post across multiple channels with a centralized tool.
That way, you can move on to your next video without worrying about missing the upload window on one of your socials.
The two most popular examples are Buffer and Later. Here’s how these two tools work:
| Scheduling tools | How it works |
| Buffer | You connect your social accounts and build an automated video queue. Upload video files, add your titles and tags, then let Buffer publish your videos at the correct times. |
| Later | You upload clips into a media library and drag them onto a content calendar. Write your captions and set up auto-publishing for short-form platforms like Reels, TikTok, and YouTube Shorts. |
Both tools make it possible to post on different platforms from one dashboard, rather than having to go to each social platform to schedule them. The added bonus is that it’s very simple to establish a consistent publishing cadence (like posting every Tuesday afternoon) while also reducing your mental load.
Here’s what Buffer’s interface looks like:
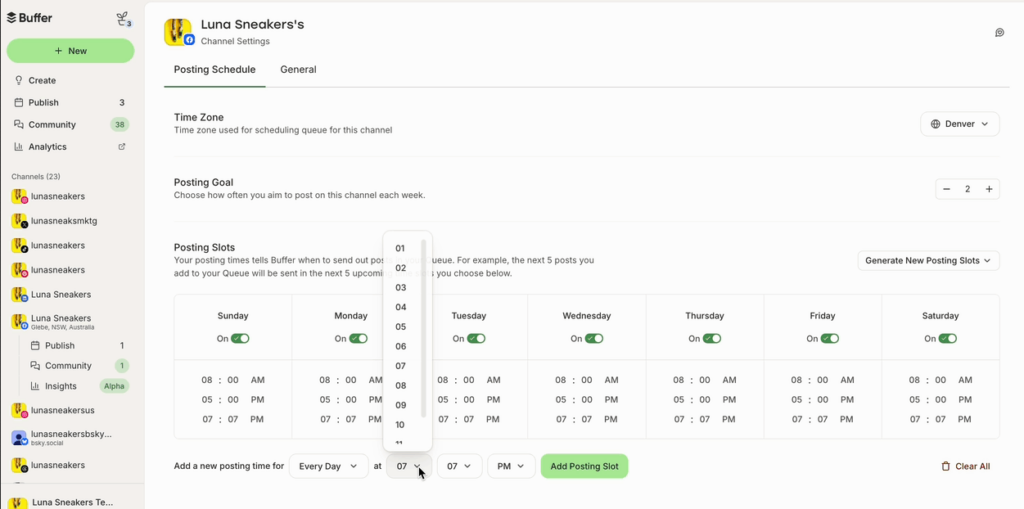
Once your videos are live, you can use the built-in analytics on either platform to track your initial views and determine the best times to schedule future uploads.
8. Performance review tools to confirm what’s working
The final step of your workflow is closing the loop. Instead of guessing what to make next, use analytics to test and iterate on your videos.
Platforms like YouTube Studio and Instagram Insights offer a massive amount of free data. They help you pinpoint the exact moment viewers lose interest and scroll away. This is an example of what YouTube Studio can show you:
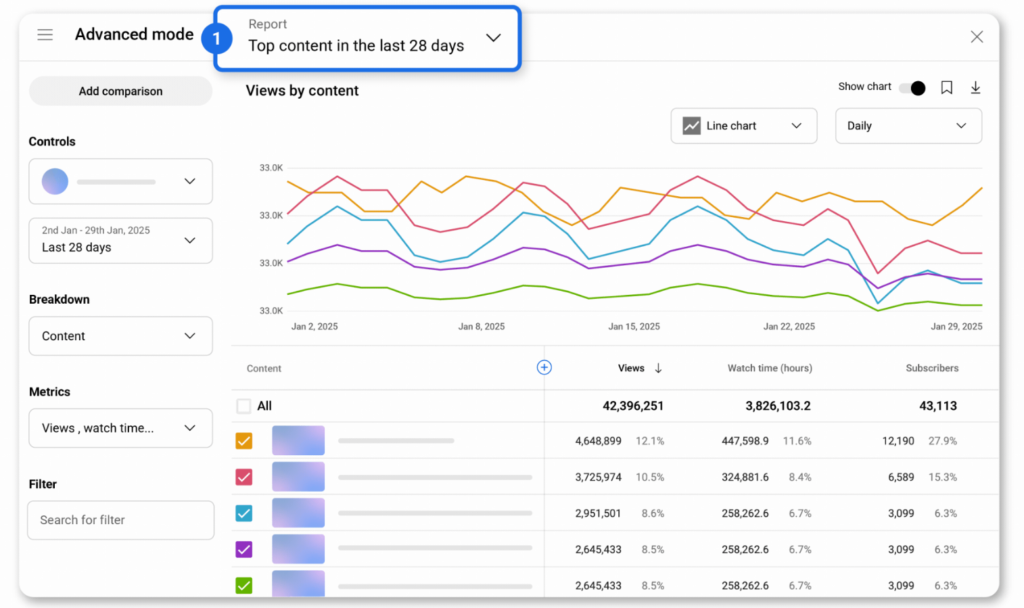
And dedicated growth tools like VidIQ or TubeBuddy take this even further by analyzing your channel performance and highlighting specific search terms your audience is looking for.
To get the most out of these tools, focus on your click-through rate and average view duration. A low click-through rate means you need to revisit step six and improve your thumbnail designs. A sharp drop in view duration means you need tighter scripts and potentially faster, attention-grabbing editing.
Connecting these metrics back to your earlier steps ensures every new upload performs better than the last.
Start simple, then upgrade as you need to
Don’t wait for the perfect setup of content creation tools. Assemble whatever you have right now and get started, because showing up consistently matters the most.
Focus your energy on building an efficient workflow first. Once you establish a solid publishing routine, you can upgrade your gear when you hit bottlenecks or find missing coverage in your process.
When you want to improve your content without slowing down, Storyblocks gives you everything you need. An unlimited subscription provides full access to human-made videos, professional sound effects, and reusable templates.
Combined with time-saving features like the Adobe Premiere Pro plugin and the new AI Toolkit, you can bypass entire production hurdles. Explore the Storyblocks library today to streamline your workflow and scale your channel.