Christopher Nolan spent a decade developing the ideas behind Inception. But when you’re creating video for a commercial client, a branded campaign, or even a music video, that same luxury doesn’t exist. In this instance, structure and organization through a video production timeline are vital, especially when you’re being paid by someone..
Video production works like a pipeline: an idea flows through different stages and departments, where multiple individuals work together to shape, refine, and deliver the final product. The length of each phase can vary. In this article, we’ll break down what should happen in these essential stages and provide a practical framework to guide your video production timeline.
We’ve included two free downloads to help you get started: a six-week production timeline template and a two-week version. In this article, we’ll refer to dates based on the six-week process.
Table of contents
The essential stages of video production
Phase 1: Planning
Many assume that a video begins with a script, and that’s typically true, but mainly for narrative films. When it comes to commercial content, music videos, or social-first campaigns, the first step is planning. This is where you’re crafting the idea behind the idea.
At this stage, you’re defining the core goals of your video. What’s its purpose? Who’s it for? Where will it live, and how will it drive results? Are you publishing it to multiple platforms? All of these are key elements that will determine every other decision you make from this point on.

You’ll also start to sketch out what’s realistically possible within the constraints of your budget. How many people will be involved? What gear or locations are needed? What’s out of reach? How complex will the editing be? Does it need a vfx artist for effects? If you work out what is not possible, it allows you to focus on what is possible and build a solid foundation from there.
Once you’ve answered all those questions, you can start to sketch out what the timeline for your video will look like.
Week 1
- Concept development & creative brief (3 days)
- Production schedule & booking crew (2 days)
Phase 2: Pre-Production
David Fincher once said, “If I do my job right in prep, I always feel like the shooting should be boring.” This isn’t because he’s anti-fun, but because everything has been so well planned that there are no surprises—in essence, there’s no on-set drama.
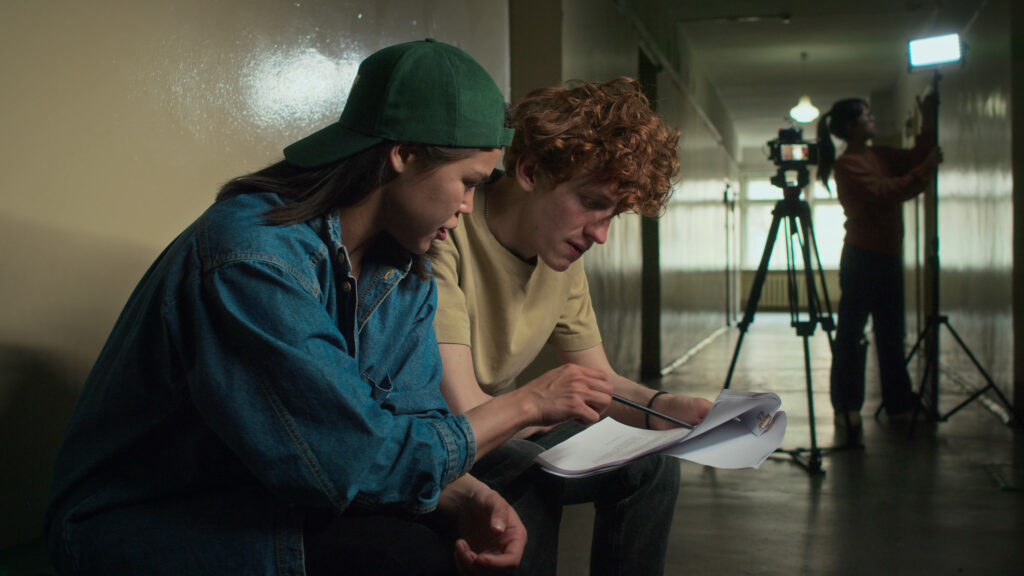
This is what pre-production is about. Preparation. Here, the vision starts taking shape. You’ll write and refine scripts, build storyboards to pre-visualise scenes, and create shot lists.
Storyboarding doesn’t need to be expensive or fancy; even a pencil and paper will do. Many directors, like James Gunn, storyboard every shot before they roll the camera. Is it surprising that his films are often considered among Marvel’s best?

Simultaneously, the logistics get underway, such as location scouting, permitting, hiring crew and talent, scheduling studio time, and sourcing special equipment. For instance, if you’ve got a boat scene, you’ll need safety teams, waterproofed gear, and well… a boat.
Think of pre-production as your blueprint. The more detailed and realistic it is, the smoother your production phase will go.
Week 2
- Draft script (2 days)
- Script review & feedback (2 days)
- Talent or voiceover scouting (2 days)
Week 3
- Final script (1 day)
- Storyboarding (2 days)
- Storyboard review & revisions (1 day)
- Video shot list (1 day)
Phase 3: Production
This is the phase most people think of when they imagine filmmaking. It’s where the actual footage is captured, also known as principal photography.
Ironically, this can also be the shortest part of the process, depending on what type of video project you’re working on. But it can also be the most expensive if poorly planned. For example, when paying for location access, talent, and equipment, a simple one-day delay can add thousands to the balance sheet. And that’s why the planning and pre-production phases are so crucial.
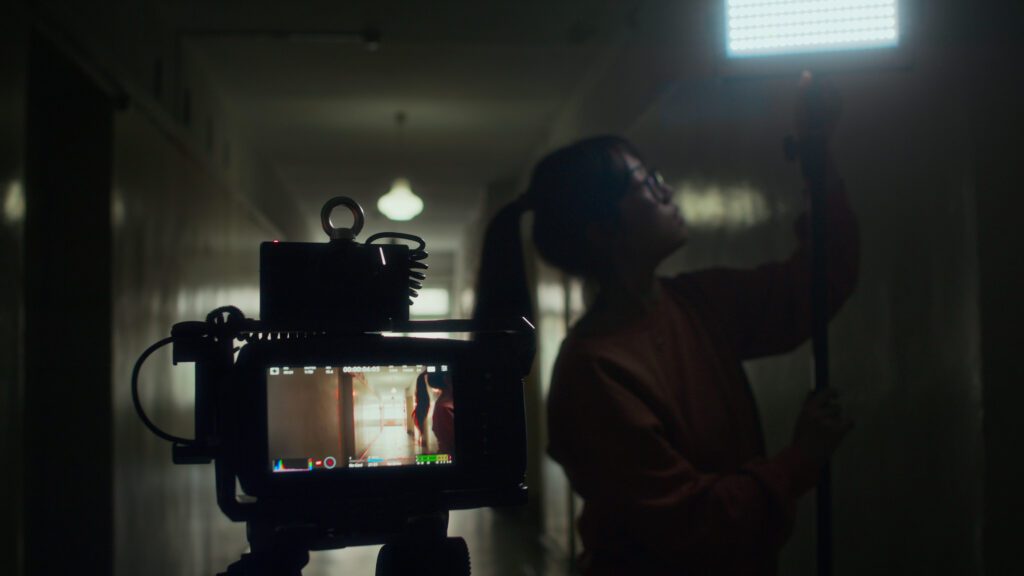
However, your shooting schedule should factor in more than just the filming. You must remember that setting up and breaking down gear is very time-consuming. Likewise, even if you have laid the groundwork correctly, it doesn’t mean you’ll like what was shot. There can be multiple takes, and you may have to completely re-do the composition. So be sure to budget time for unexpected challenges.
Week 4
- Production (1-3 days)
Phase 4: Post-Production
Once the final scene is shot and the cameras stop rolling, many of your crew members, lighting, makeup, and grips are done. But for editors, colorists, and sound designers, the work is just beginning.
Post-production involves assembling all that raw material into a finished, polished video. You’ll have to sift through multiple takes to filter out where the actors have flubbed lines, a plane ruins the audio, or the focus puller misses the mark. Then, cut together the best footage into something that resembles the initial vision. However, this is just the foundation being set, as everything from color grading and motion graphics to music, sound design, and VFX still needs to be applied.
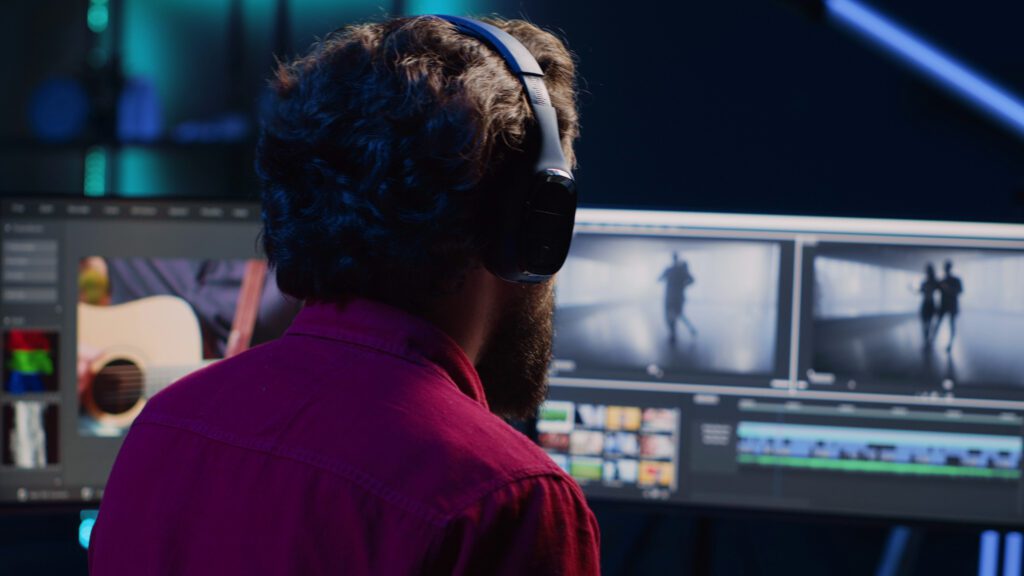
This phase can be the most labor-intensive, especially for content requiring heavy visual effects work. As we mentioned in our recent rotoscoping tutorial, just masking a 10-second shot manually might take all day. That’s why it’s best to plan for post-production to be the longest phase of your timeline.
Post-production is where all of your hard work and pre-planning come together to form a cohesive project. So be sure to give it as much time as it needs to fully bring the vision to life, with a little buffer room for any unexpected delays.
Week 4 (continued)
- Asset prep (1 day)
- Rough cut editing (3 days)
Week 5
- Rough cut review & feedback (2 days)
- Fine cut editing (2 days)
- Motion graphics/animation (3 days)
Week 6
- Sound design & mixing (1 day)
- Color correction and/or color grading (1 day)
- Fine cut review & feedback (1 day)
- Final edit (1 day)
Phase 5: Distribution
With the final edit complete, it’s time to share the work. After all, this is the entire point of the project, right? However, in a trend-driven, algorithm-powered world, visibility is often more difficult than it needs to be. Which is why how you deliver and distribute the video matters, especially if you want it to reach the right audience.
Depending on your strategy, this might involve:
- Creating different versions for social platforms (vertical, square, captioned, etc.)
- Embedding the video into email campaigns or landing pages
- Using paid ads to amplify reach
- Coordinating a release schedule tied to other campaign elements
The distribution stage is often overlooked, as many will upload to online video platforms and hope for the best. But this final phase determines how impactful your video becomes and if you meet the goals you set in phase 1. Of course, luck from the algorithm gods also helps.
Week 6 (continued)
- Resizing (platforms prep) (1 day)
- Upload and QA (1 day)
- Publish (1 day)
Tips for a smooth production process
In a perfect world, your shoot goes exactly as planned with no issues. But in reality, that’s not usually the case. To give yourself the best chance of things running smoothly, being over-prepared is your best bet to prevent bottlenecks. Here are some easily overlooked details you should plan for.
Don’t overpromise
Be realistic with your timelines. Equipment takes time to set up. Light stands, fixtures, grip gear, and even laying an ND gel across a window can consume time. In many cases, prep takes longer than the shot itself. Make sure your shot lists and storyboards account for this. If you’re unsure, rehearse the process and time it.
However, overpromising isn’t just for the production phase, as it can also bleed through very quickly into post-production. There seems to be a tendency to underestimate how quickly an edit can be completed. So bear this in mind when it comes to the actual length of the content filmed.
While the idea of editing a 2-hour single-camera interview into a 15-minute segment seems arguably a lot less strenuous than editing a multi-camera 3-minute music video setup, you still have to sift through 2 hours’ worth of content multiple times. Likewise, when it comes to receiving feedback from the various stakeholders, there could be delays in the feedback given, especially where time zones are concerned.
If this is the case, delays can occur even when having the edit out of your hands. In these instances, you should consider adding buffer times when setting out key delivery dates. Establishing a realistic project timeline at the start allows you to overdeliver rather than underdeliver.
Expect the unexpected
Just because it’s shoot day doesn’t mean the world stops for you. Renovations, utility work, and even a farmer harvesting his crops can all interfere with your scene. So be sure to build in extra time and backup filming locations to your planning and schedule.
In 2012, I was filming a web series called Grim: A Tale of Death. We scouted a field-meets-forest location six weeks ahead of filming. But by the time we returned, the forest had been cut down and the meadow dug up for new housing. If we had checked again or done a Google search, we could have saved ourselves the headache of suddenly having to find a new filming location on such short notice.
That being said, unpredictability can surface anywhere at any time, from actors unexpectedly getting sick to losing your hard drive of the original footage (which is where b-roll libraries like Storyblocks come in handy).
But if you build in time for delays or changes to your timeline from the start, that’ll help avoid (or at least reduce) any last minute panic. The sooner you accept that things can go wrong, the more proactive you can be in minimizing those risks.
Have a backup plan
Spare batteries for the camera and a backup camera body are a must in case your central unit fails. If you’re working with animals, consider having one or two more on standby in case the first gets stage fright or starts misbehaving. If you’re using costumes that are critical to the look of a scene, keep some matching material or fabric-safe ink on hand as a quick fix for spills or stains.
And the backup plans don’t have to stop once production finishes. Backup plans can help expedite the process even when it moves to post-production. If the client is slightly particular about a specific font choice, but creative has gone with a font that they believe works better within the confines of the project, have a render with both fonts used. So if the inevitable revision request comes through about changing the font, we don’t have to run through re-rendering and re-uploading, it’s already good to go.
Even when you’ve planned everything to a tee, accidents happen. It’s just part of the game. But having redundancies in place makes those surprises less stressful and far less disruptive.
Factors affecting the production timeline
Your production schedule can shift drastically depending on several key factors, and it’s crucial to consider them early in the planning stage.
Video type and length
Let’s say you’re creating a music video like Lola Young’s Messy. The entire video plays out in one static shot, one location, and one prop. Simple and efficient.
But compare that with OK Go’s Love, which also happens in a single location yet requires intricate choreography, complex staging, and extensive rehearsals. It has the same format but wildly different timelines.
And when it comes to in-house work, a hero video for a campaign will be far more intensive than something like a 30-second cutdown for social media.
Style and Complexity
Then, there’s the style of your video and the complexity involved in bringing it to life. A talking head explainer? You’ll need to scout a presenter and prep a studio space. Once filmed, the edit is usually straightforward. But an animated explainer? That means sourcing motion designers, building assets, and animating to a script, which could stretch over several weeks depending on length and style.
Resources
Finally, what do you already have access to? A friend’s studio or your uncle’s empty warehouse can help. But if you need to source everything from scratch, you’ll spend more time in pre-production lining up locations, gear, and crew. If you’re working with a small in-house video team, you likely have an established process that runs like a well-oiled machine. But if you’re working with freelancers or an agency, you may need to build in more time for review and multiple rounds of edits.
What it takes to create an effective video timeline
If you were planning a cross-country trip without a GPS, you wouldn’t just set off blindly; you would prep your journey by checking maps, planning routes, and identifying places to stay. While you could, in theory, just wing it by following road signs as they appear, this approach would likely stop you from taking the optimal route to your destination faster. Filmmaking works the same way. To keep your workflow efficient, you should start by setting clear milestones.
Working on my passion projects often feels like an endless journey. But the moment a firm deadline is introduced, like reviewing a set of lenses and returning them to the manufacturer within two weeks, the gears start turning much faster. There’s an adage called Parkinson’s Law, which is:
“The idea that work expands to fill the time allotted for its completion. This may mean you take longer than necessary to complete a task or you procrastinate and complete the task right before the due date.”
Establishing clear, specific deadlines rather than vague goals like “finish film here” will allow you to avoid Parkinson’s Law and significantly streamline your production timeline. Aim for trackable checkpoints that mark progress at each stage: script revisions, storyboard approval, motion graphics review, client feedback windows, etc. While it may sound like standard procedure, many creatives aren’t naturally inclined toward administrative planning, and without it, the entire process can easily stall.
Tools & Technology
Gone are the days of trying to plot a production on Microsoft Excel or Google Sheets. You don’t have to keep everything locked away in an email chain, either. There are multiple project management tools that can help streamline your video production process.
These are great for mapping out the production timeline and ensuring that deadlines are being met. You can even use them for asset management, uploading script drafts, storyboards, and so forth, which may work in your favor rather than keeping everything spread out through email.
For project management, you’ve got solid options.
- Asana – Great for teams that need structured task management
- Trello – Perfect for visual thinkers who like seeing the project as a board
- Notion – The flexible all-rounder that lets you combine docs, checklists, and databases however you want
For creative assets, stock video sites like Storyblocks can give you a big jump start. Pre-licensed b-roll, sound effects, video templates, and more can be downloaded instantly, helping keep you on track and saving you valuable time.
These tools can be essential in the later stages of your collaboration. Signing up and figuring out the interface of a few new systems may overcomplicate the production process, but ultimately, it’s to eliminate bottlenecks.
For collaboration, cloud-based tools are essential.
- Figma – Not just for designers! Great for storyboards, mood boards, and visual planning
- Frame.io – Lets clients leave timestamped notes directly on your video edits
- Vimeo Review – Another solid choice for remote feedback without endless email chains
Again, you don’t have to sign up for every platform. These are just several different options. The less time you spend chasing assets, files, or people, the more streamlined your video production will be.
Download your free video production timeline template
That’s where our downloadable templates below come to life. We’ve mapped out common steps and elements of a production timeline for each one, but they’re fully customizable so you can change them to suit your projects and their requirements.
What’s included in the timeline templates?
- A visual breakdown of each production phase
- Editable deadline markers for major milestones
- Suggested durations for each stage (based on industry averages)
- Formats for both 6-week and 2-week productions
Now remember, these aren’t strict formulas; they’re flexible frameworks that help you stay in control without losing momentum. By taking all of our advice covered here into consideration, you should be able to roughly map out and estimate your own project timeline and a realistic production schedule.
If you’re looking for more tools and support for streamlining your production process, check out our Ultimate Video Marketing Toolkit. It has even more templates, tools, and resources to help you work more efficiently at every stage of production.