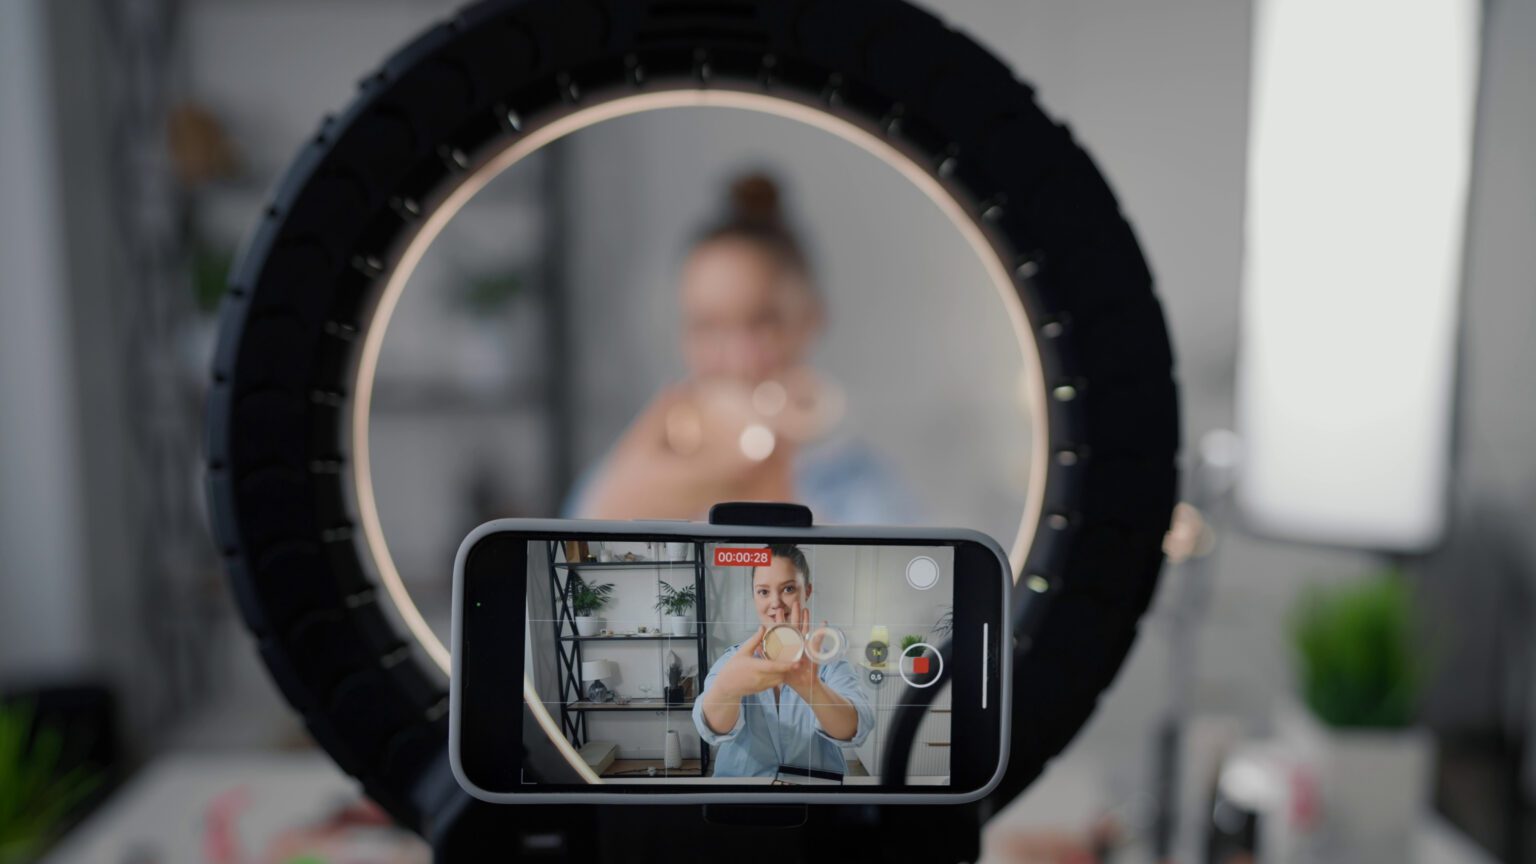
Tutorial and how-to videos are amazing resources that almost all of us have encountered before. Whether you’re trying to learn a new skill or understand how to operate a new gadget, they’re incredibly useful when they’re done well.
But what separates an okay tutorial from an incredibly useful and helpful one? Today, we’ll be diving into what makes an effective tutorial video, with advice from experts who have been creating these kinds of how-to videos for years.
4 tips for making effective tutorial videos
1. Know your audience and how to solve their problem(s)
When you’re creating an instructional video, understanding exactly what viewers or your main audience needs help with is key. While you might think that it’s obvious, you’d be surprised at how often it’s not as straightforward as it seems. Even if you make videos on a specific niche, who your audience is and what they’re trying to accomplish will vary depending on the specific topic you’re covering.
For example, over on the Storyblocks YouTube channel, we make a lot of different how-to videos. Even though our audience is generally people who create videos, there’s a lot to take into consideration with each tutorial.
Take our video on how to cut a clip in After Effects, for instance. Cutting a clip is a basic skill, so we knew our audience was going to be in the new or beginner-level video creator/editor bucket. On top of that, if they’re just looking up how to do this specific action, they’re probably inside After Effects, working on a project.
So it’s a safe bet that they’re looking for a quick video that will tell them where to find the tool and how to use it, so they can jump back into their project. As Kyle Miller, Storyblocks’ Video Production Manager, explains, “For our audience–often people who are newer to video editing–clarity and simplicity are everything. It’s better to be direct and walk them step-by-step through the solution than to try to impress them with complexity or tangents.”
Steps to take during pre-production
- Research existing content on your topic as a part of pre-production. Forums like Reddit or even the comment sections on other tutorial videos can help you better understand what people want to learn on the topic. What improvements can you make on already existing videos?
- Create your scripts with your audience’s skill level and circumstances in mind. Beginners may need more explanations and simplicity than someone who has more experience. Think about what your viewer is likely doing when they’re searching for your tutorial. Is this a quick answer they need to get back to what they were doing? Or are they researching before they actually take action on something? Understanding that can help you choose the right length and delivery for your video.
2. Structure and simplicity are your best friends
Just like you would read a set of instructions and expect them to go in order, your instructional video needs to have a clear, organized structure. As Tymon Reynders, the creator behind multiple tutorial-focused YouTube channels, puts it, “A well-organized tutorial keeps viewers engaged and makes the learning process smoother from start to finish.”
Using a basic structure of an opening hook (more on that in the next section), steps to follow, and then an ending recap will work for nearly any how-to video. Whether or not you fully script your video or use a looser structure like bullet points is up to you. Just make sure you’re covering all of the important information and presenting it in a clear, linear way.
As Kyle points out, “It doesn’t have to be the most engaging thing ever–it just has to help someone get what they came for, quickly and clearly. The goal is to be helpful, not comprehensive. Get in, solve the problem, and get out.”
Steps to take during pre-production and post-production
- Make sure your script has a clear, logical flow that’s easy to understand. Using numbered steps that you can also visually show on screen to break steps down can help make information more digestible for viewers.
- Cut the fluff. Whether it’s during scripting or editing, you should be on the lookout for unnecessary information that isn’t essential for your viewer to know. A good tutorial should be able to simplify and explain even the most complex processes.
3. Explain your tutorial in the first 15 seconds for better retention
The title of your video, the thumbnail, and the first 15 seconds of your video should all make it obvious what your how-to video is about. But those first 15 seconds are absolutely key in making sure you have the right audience for your video.
“We always try to include a strong hook right away that sets expectations and clearly communicates what problem the tutorial will solve,” says Kyle. After all, tutorial videos need to be helpful, and that starts with making sure your viewer knows whether this has the right information that they’re looking for.
And Tymon agrees. “We’re always focused on making the intro as short and impactful as possible, showing exactly what the video will cover right from the start. If it interests them, they stay, and if not, they leave. This upfront clarity helps with video retention and ensures we’re attracting the right audience for each tutorial,” he explains.
Steps to take during pre-production and post-production
- Time your intro when you’re writing your script to make sure it’s short and sweet. This helps make sure your intro is a good length (ideally 15 seconds or less) before you start filming.
- Editing in the final result during the intro can help retain viewers. Showing the end result of what your tutorial will help your viewers achieve is another way you can keep them interested and make sure your tutorial is what they’re looking for. This is especially great for creative videos, like makeup, painting, or DIY tutorials.
4. Edit for understanding, not just flash
The way that you edit your videos isn’t just a stylistic choice. It can help your viewers better understand what you’re covering and be the difference between confusion or clarity. If you shot your how-to video all in one take, knowing what to cut, what to keep, and where to make adjustments is important.
This means paying attention to every little detail. “We spend a lot of time refining the screen recordings, using cropping and zooming to make sure every step is clear and focused,” Tymon explains. With things like software tutorials especially, using those tactics can make it more obvious what tools are being used or what settings are being adjusted.
But use them in moderation. After all, your viewers are ultimately using the full-screen version on their end. “Zooming in or simplifying the screen too much can actually be confusing,” Kyle points out. “Because it’s not what users will see in real life. So most of the time, we stick to full-screen views unless there’s a specific interaction we need to highlight.”
In most cases, jumping between a talking head shot and a screen recording or footage of the process will make your tutorial more confusing. The shots that show the actual process should make up most of your video. Save the cutaways to you talking or b-roll clips for the intro, outro, or when you’re explaining the reasoning behind a step.
Steps to take during post-production
- Use editing to help make what you’re showing on-screen as clear as possible. This can include zooming in on a recording or footage for more detail, adding on-screen text with additional information, or adding arrows to point out important areas, movements, etc. You can even add sound effects to help clarify the actions you’re taking, like clicking a button or writing down a measurement.
- Get feedback from experts and non-experts before you publish. Feedback is a gift, especially with instructional content. Having other people watch your video to make sure it’s easy to understand, especially people who aren’t well-versed in the topic, will help make sure it’s as helpful, clear, and useful as possible. I’m not a video editor, but I review the rough cuts of all of our tutorial videos here at Storyblocks. But it’s because I’m not familiar with the software or the tools that my feedback is helpful. If I’m confused by a step, there’s a good chance our audience will be too.
Focus on creating useful, helpful content and learn along the way
No matter what kind of tutorial or how-to video you’re creating, they all have the same goal: being helpful and useful to someone in accomplishing a task. As a creator, you can’t go wrong by prioritizing that first. Combined with our other 4 tips, along with making adjustments and tweaks to your videos along the way, your tutorial videos should turn out great.
An easy way to elevate the production value of your tutorial videos is to use stock assets like sound effects, footage, or pre-made templates. With a Storyblocks subscription, you can get unlimited downloads of high-quality stock video, audio, and images along with time-saving tools to help you speed up your workflow. Explore our plans and sign up today to start downloading instantly.


