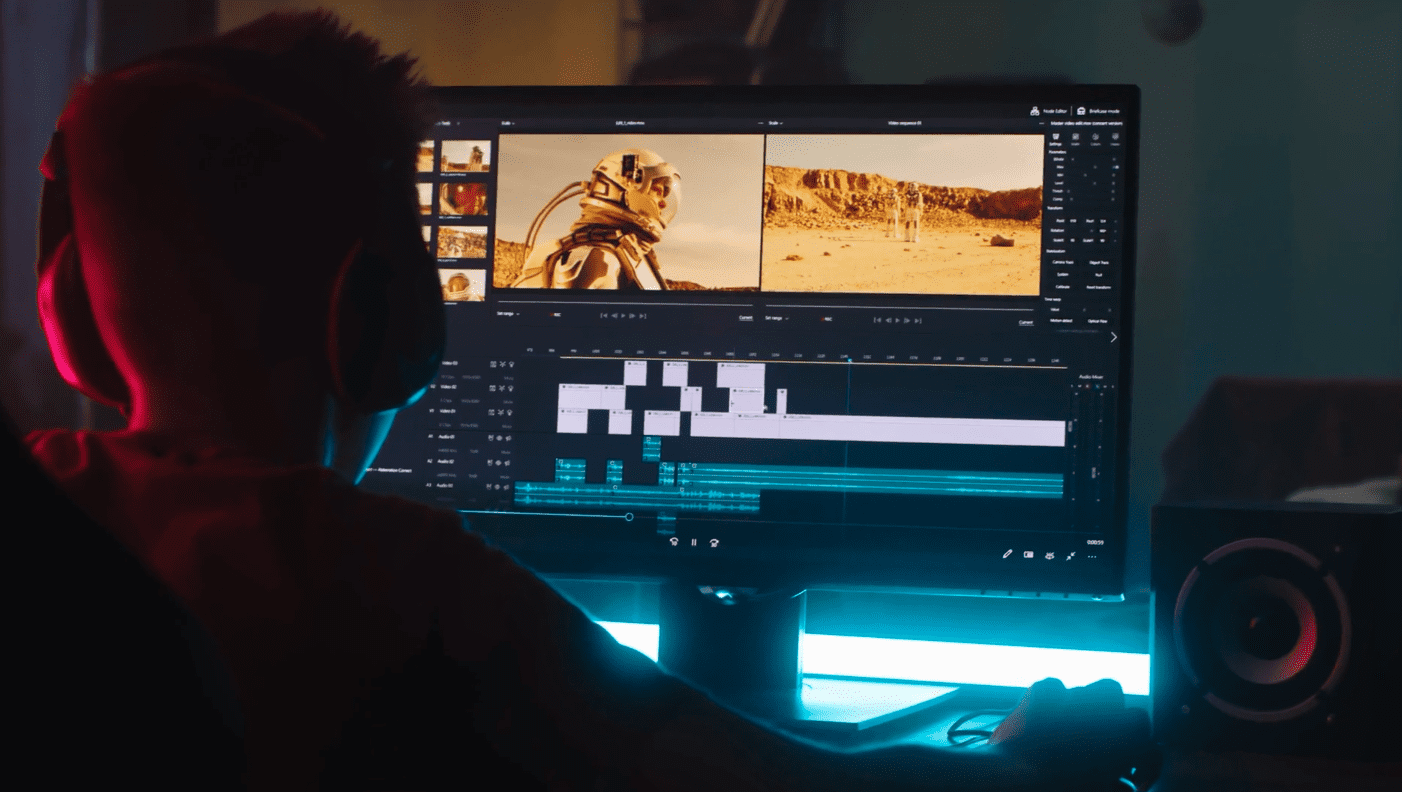
In modern video editing, compositing is one of the most essential techniques behind the visuals we see every day. Whether you’re watching a superhero movie, scrolling through motion ads, or following your favorite creator on YouTube, there’s a good chance compositing had a role in shaping what you’re seeing.
It’s a foundational skill for editors and visual effects artists that blends creativity, storytelling, and technical precision into a single process. In this article, we’ll explore what video compositing is and take a look at some of the techniques used in the industry today.
What is video compositing?
At its core, compositing is the process of combining multiple visual elements into a single, seamless image. It allows editors to merge real footage, digital effects, and graphic elements so they appear to exist naturally within the same frame.
Think of it as visual layering: every piece of media, from footage to effects, is stacked and refined until it looks cohesive and believable.
The history of compositing for film
Compositing has existed almost as long as film itself. Early filmmakers used in camera techniques like double exposure and matte painting to merge separate images into one shot.
One of the first examples dates back to Georges Méliès in the early 1900s, who used hand-painted glass mattes and multiple exposures to create illusions that were revolutionary for the time. One of the most famous uses of this technique came from 1902 with A Trip to the Moon.
This concept of layering elements on top of each other is how Disney made some of their iconic animated movies. Using the multiplane technique of layering different drawings on different layers of glass, then positioning the camera above everything, shooting down and then moving individual layers to create the animation.
A recent example of using the multiplane technique can be found with a music video that came out a few years ago from Fleet Foxes.
As technology advanced, optical printers and blue-screen techniques became standard in Hollywood by the mid-20th century. Think Star Wars and 2001: A Space Odyssey.
Then came digital compositing in the 1990s, which completely changed the game. Movies like Jurassic Park and The Matrix used computer-based compositing to blend live action footage with CGI in ways that hadn’t been possible before.
Today, the process is faster, more accessible, and cheaper than ever, thanks to powerful programs and the rise of digital content creation through YouTube.
Compositing in film and video today
Modern compositing is everywhere. In big-budget films, it’s how CGI characters and massive environments are integrated with live action footage. In marketing and corporate video, compositing is used to combine motion graphics, text, and real-world imagery into branded videos.
Most of the biggest Super Bowl commercials from the past 10-15 years have prominently featured VFX shots, like the one below.
Even smaller creators have employed the use of compositing into their social videos using green screen backdrops, tracking animations, or creative overlays.
You can see compositing in action in countless examples online, like this incredible video essay from Thomas Flight on the VFX of Dune. In it, he explains how the crew composited scenes real time and the process they used.
But these techniques aren’t just for large productions anymore; they’re tools anyone can learn with practice and the right software.
Why compositing is important?
Compositing matters because it bridges imagination and reality. It’s how editors create believable worlds, enhance storytelling, and add emotion or clarity to a scene. A well-composited shot can make viewers forget they’re watching a constructed image at all. Believability and immersion are the keywords here.
Beyond creativity, it’s also efficient at allowing teams to save money and time by shooting fewer physical locations or props while still achieving a polished result. Across industries like film, marketing, and social media, compositing is now an expected part of the average film production and creators workflow.
Is compositing the same as VFX?
Compositing is a part of the equation, but not all VFX are compositing. The term “visual effects” is a broader category that includes any digital manipulation done after filming something, like 3D modeling, particle simulations, or digital makeup.
Compositing is just the final stage that brings all those visual elements together, merging them into one convincing shot. Essentially, compositing is where all the pieces of a VFX pipeline meet and come to life.
The best techniques for compositing
There are many compositing techniques, each serving a different purpose. Complex composites often combine all or most of these techniques together to create a final product.
Chroma keying or green screen
Chroma keying, also known as green screen removal, is one of the most common. It allows you to replace a background with any image or video. Many films, shows, and even content creators use this technique to give their projects versatility with creating settings or using their background to enhance their content.
Rotoscoping
Rotoscoping involves tracing objects frame by frame to separate them from their background. It’s a painstakingly tedious and time-intensive process that typically elicits groans and negative emotional reactions from VFX artists at the sheer mention of the technique. But the results are worth the effort, which is why it’s still used today.
Tracking, blending modes, and masking
Tracking ensures that effects follow the movement of the camera or subject realistically. It allows certain additions or elements to move organically in a scene from the perspective of the camera. The program that you’re using detects certain points in the image and “tracks” or follows them frame-by-frame. Other techniques, like blending modes and masking, help integrate lighting and color so all layers feel cohesive.
Blending modes are exactly what they sound like, ways to “blend” images, layers, assets, and clips on top of each other. In almost every editing program available, there is an option to change and set the Blend Mode to fit the different varieties and intensities of light that you need to create a natural looking image. Some of these varieties include: Overlay, Add, Darken, Difference, Light and many more.
Similar to rotoscoping, masking gives editors the power to choose which aspects of your footage you want to be seen or not seen by cutting things out from the background. Only this time it’s typically for static shots, not fluid motion.
Think of this as a way to cut out the exact part of the image you want removed or featured. In regards to VFX, masking is a key step in your workflow for adjusting specific parts of a shot like taking things out (removing), or placing something new (adding) into your shot.
Mastering all three of these techniques are vital to becoming fluent in compositing.
The best programs for compositing
There are many software options available for compositing video, each with unique strengths depending on your skill level and workflow.
Adobe After Effects
After Effects remains one of the most popular tools for compositing and motion design. It’s ideal for editors and creators who want flexibility, an intuitive interface, and a huge library of plugins. After Effects shines in 2D compositing and motion graphics, and it’s widely used across industries from social media to film production.
Wondershare Filmora
Wondershare Filmora is a good starting point for beginners. It includes simple tools for green screen effects and layering, without the steep learning curve of more advanced software. It’s a great choice for content creators who want to experiment with compositing techniques while keeping their workflow lightweight.
Blender
Blender is an open-source powerhouse that handles both 3D modeling and compositing in one platform. It’s especially useful for integrating CGI elements into live-action footage, making it a favorite among independent filmmakers and animators. And best of all, it’s free. If you’re looking to start learning compositing, Blender is a great choice to start with.
Fusion Studio
Davinci Fusion Studio, by Blackmagic, offers node-based compositing that gives VFX artists exact control over every layer and effect. It’s often used alongside DaVinci Resolve, creating a smooth workflow for both color correction and compositing.
This is the answer to editors and VFX artists looking to make the jump from Adobe Premiere Pro and After Effects – click the links to read our articles comparing each software.
Autodesk Flame
Autodesk Flame is a professional-grade tool built for more high-end productions. It’s used in film and commercial studios for complicated compositing, 3D visuals, and finishing. Similar to Fusion, it uses a node-based compositing system, which lets you connect and organize every element visually like a map.
Each node represents a specific action like adding a key, color correction, or blur and you can link them in any order to control how layers interact. You can also go back and tweak each individual node if you want to make a change, to “backtrack” if you will.
This node-based approach gives artists more flexibility and precision than a traditional layer stack, especially for complex effects. It’s also non-destructive, meaning you can make changes to any part of a composition without affecting the rest of the project.
Obviously this is a great feature, but it’s overlooked for beginners learning Autodesk because it allows you to make mistakes (which you will) without completely torching your project.
Using stock video for compositing
If you’re just getting started, stock footage and templates can help you learn compositing faster. Pre-made green screen assets, visual effects clips, and motion graphics elements make it easier to experiment without filming your own materials or blowing all of your budget on buying expensive footage.
Many stock libraries, like Storyblocks, also include After Effects templates designed for compositing practice, which can help you understand how professional projects are structured. Using stock assets is a great way to focus on learning the fundamentals before creating everything from scratch.
Tips for getting started with compositing
The best way to learn compositing is by starting small. First, pick a program that matches your goals and skill level.
I would recommend starting out with one of the free ones. But if you want to dive into the others I’d recommend Adobe After Effects for flexibility, Filmora for simplicity, or Blender for getting started with 3D integration, since that one will take you the longest to establish a foundation for yourself.
Begin with a single technique like chroma keying and practice until you can make clean, natural looking composites. Once you’re comfortable, move on to tracking or rotoscoping.
Studying light and color will also make a huge difference in realism, since your elements need to share consistent shadows and tones. You’ll often hear about “hidden” VFX. This is just another way of blending the cinematography and realism of a shot with the VFX.
Finally, explore templates and tutorials to reverse-engineer how professional composites are built. Each project you complete will sharpen your eye and make the process feel more intuitive.
Experiment with compositing by using unlimited stock assets
VFX compositing is the art of making the impossible look effortless. From blockbuster visuals to short-form content, it’s the backbone of modern video editing and storytelling. With the right software, a bit of creativity, and the courage to experiment, anyone can start learning how to composite. Every polished, cinematic moment begins with a few layers and knowing how to bring them together.
With a Storyblocks subscription, you’ll get access to unlimited downloads of over 8 million royalty-free stock assets that you can use for compositing and other elements of your videos. From HD and 4K footage to pre-made, customizable templates for After Effects and other software, you’ll have everything you need to experiment and try out new techniques. Sign up today to start downloading instantly.


